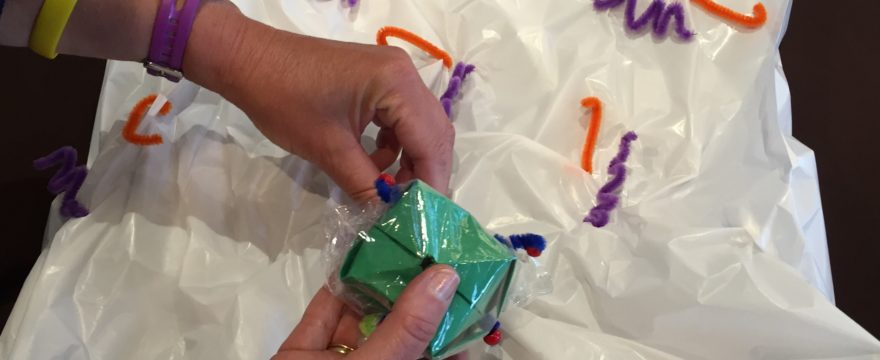
Models are one of my favorite learning tools for exploring STEM concepts. Whether it’s a leaf cross-section made with construction paper or a city built with Legos, models can be used to convey all sorts of information. That’s why one of the first steps to implementing project-based learning in your STEM classroom is helping students design 3D models.
Why should students design 3D models?
Models are used to demonstrate real-world processes, structures, or phenomena. In other words, you can build a model of almost anything. However, no matter how you teach your students to design 3-D models, the process of building a model is beneficial for several reasons.
1. Deeper understanding
Developing a model requires a thorough understanding of the process or structure being portrayed. Through the design process, students gain a deep understanding of the material.
2. Creativity
Creativity is an essential element of student-centered learning. When students design 3D models, they are able to take charge of their learning experience and explore the material in a way they find interesting. For some students, designing models also gives them a way to create art through what they are learning.
3. Analytical thinking
Creating a 3D analogy of a process or structure requires a lot of analytical thinking. How can a process or structure be portrayed in a way that is easily understood? What materials should be used in building the model? In order to create a successful model, students have to develop an analytical approach to their project.
4. Hands-on learning
Additionally, designing models allows students to creatively explore the class material with a hands-on activity. Because the activity is hands-on, it is more engaging than a typical homework assignment.
5. Student assessment
When a student has crafted an original model and communicated its attributes in a way that is easily understood, assessment is a breeze!
Common Materials for STEM Models
Fortunately, you don’t need much to design an effective model. Your students can use common everyday materials that they have around the house. You can also provide supplies for your students, if you want them to use the same materials for each of their models.
Here are a few everyday items that can be used to build 3D models:
- paperclips
- sticky notes
- pipe cleaners
- toothpicks
- construction paper
- foil
- markers
Ways for Students to Present Their Models
Once your students know how to build a model, then what?
Well, although part of the learning process is knowing how to design 3D models, students also need to know how to communicate their understanding. You can use several different methods, such as hosting student presentations, or simply having your students label their models in a way that is easy to understand. The important thing is that your students can effectively communicate what they have learned in the process.
For models that demonstrate a process or phenomenon, you can have your students create a short stop-animation video that documents the process. While this adds time to the project, all your students need to create a stop-animation video is a smartphone. Click here for my full workshop on creating stop-animation video projects.

